> For the complete documentation index, see [llms.txt](https://docs.couchdrop.io/llms.txt). Markdown versions of documentation pages are available by appending `.md` to page URLs; this page is available as [Markdown](https://docs.couchdrop.io/administration/sso-and-single-sign-on/scim-okta.md).
# SCIM - Okta
This guide will help you if you want to provision Users between Okta and Couchdrop.
### Supported Features
* **Push Users** Users created in Okta will also be created in Couchdrop
* **Push User Updates** User updates in Okta will be pushed to the corresponding users in Couchdrop
* **User deactivation** Users deactivated in Okta will be deactivated in Couchdrop
* **Push Groups** Groups created in Okta will also be created in Couchdrop
* **Push Group updates** Group updates in Okta will be pushed to the corresponding users in Couchdrop
* **Group deactivation** Groups deactivated in Okta will be deactivated in Couchdrop
* **Import Users** Users created in Couchdrop can be imported into Okta
* **Import Groups** Groups created in Couchdrop can be imported into Okta
### Configuration Steps
#### Create User Provisioning Token in Couchdrop
Navigate to [User Provisioning](https://my.couchdrop.io/manage/settings/userProvisioning) in Couchdrop’s interface and **create a new Provisioning Token**. This will be used in the Azure Active Directory provisioning process.
#### Setup an SCIM Application for User Provisioning in Okta
Select and configure the Couchdrop SCIM application from the Okta Application Catalogue.
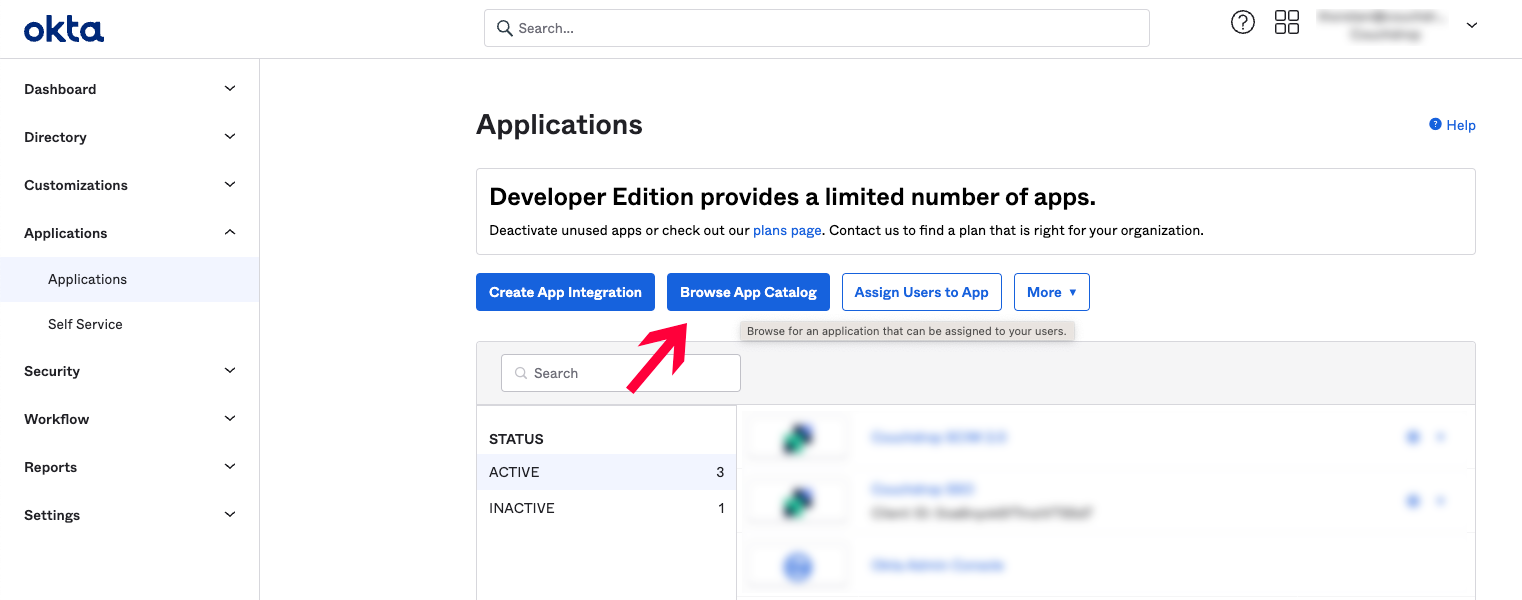
Under *Application* - *Application* select *Browse App Catalog*
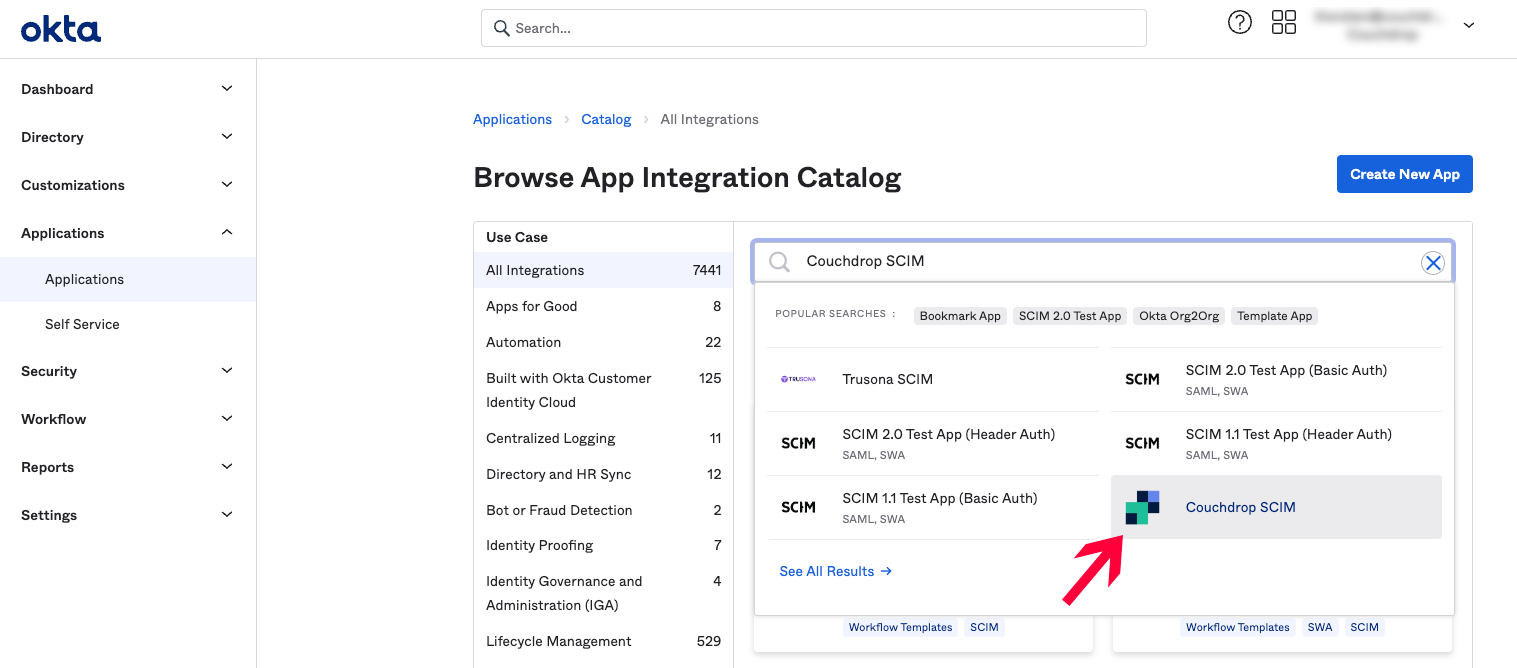
Search for Couchdrop SCIM and select the application
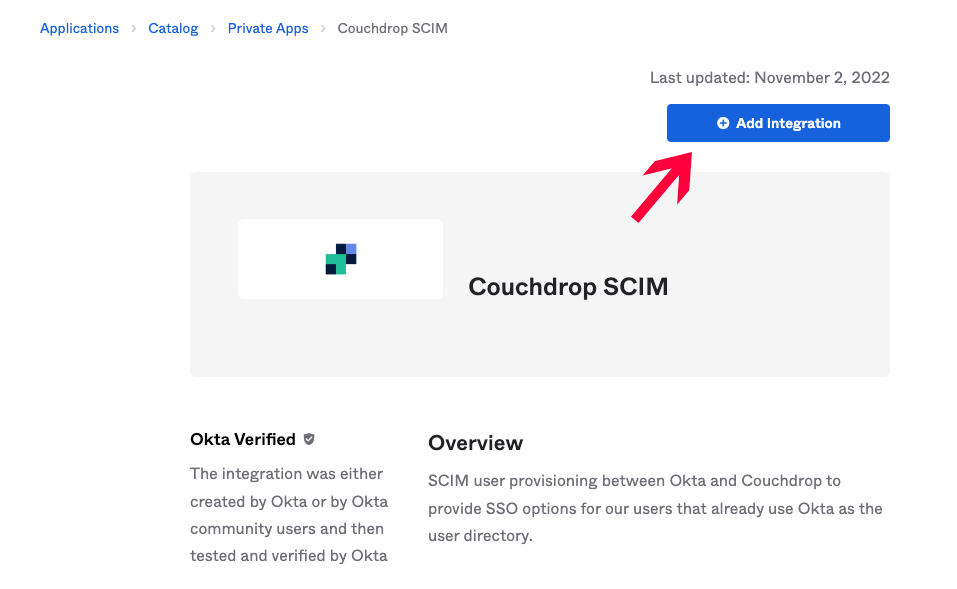
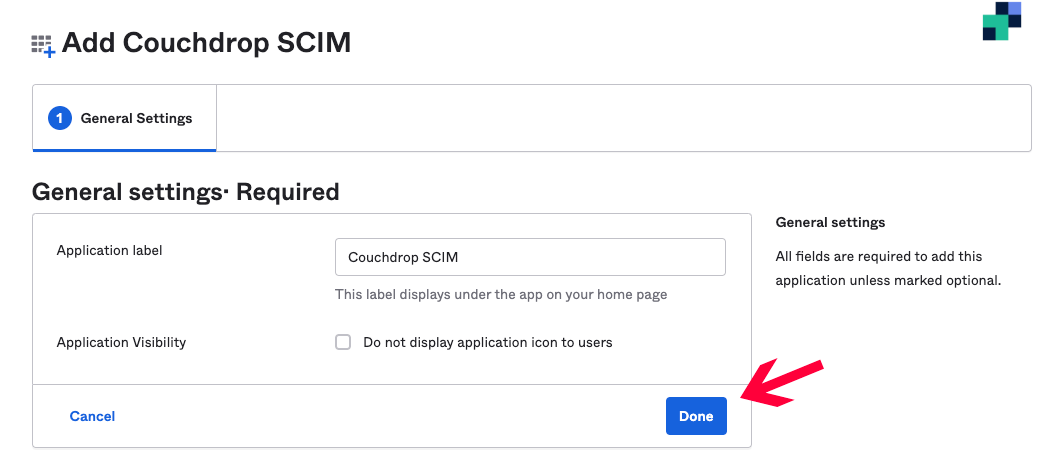
Click on *Add Integration* and then on *Done*
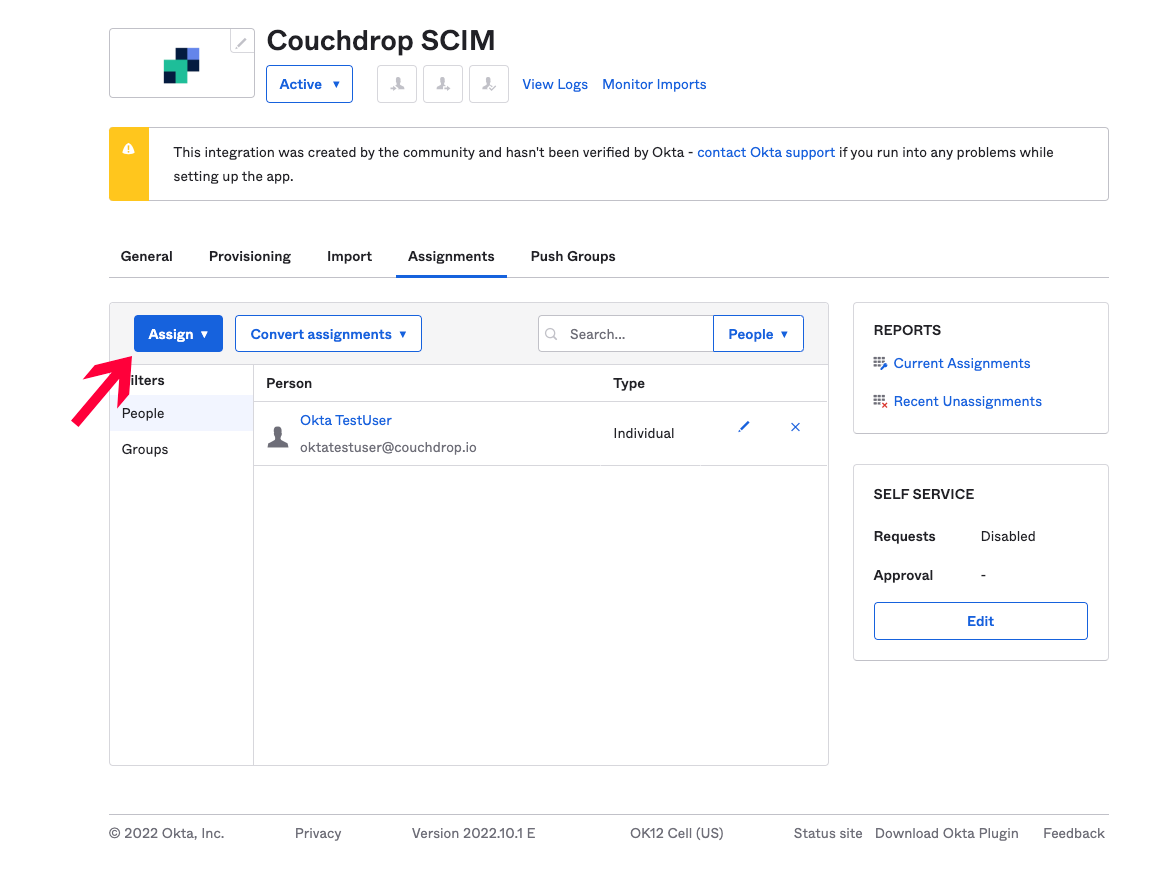
Assign User and Groups to the Application
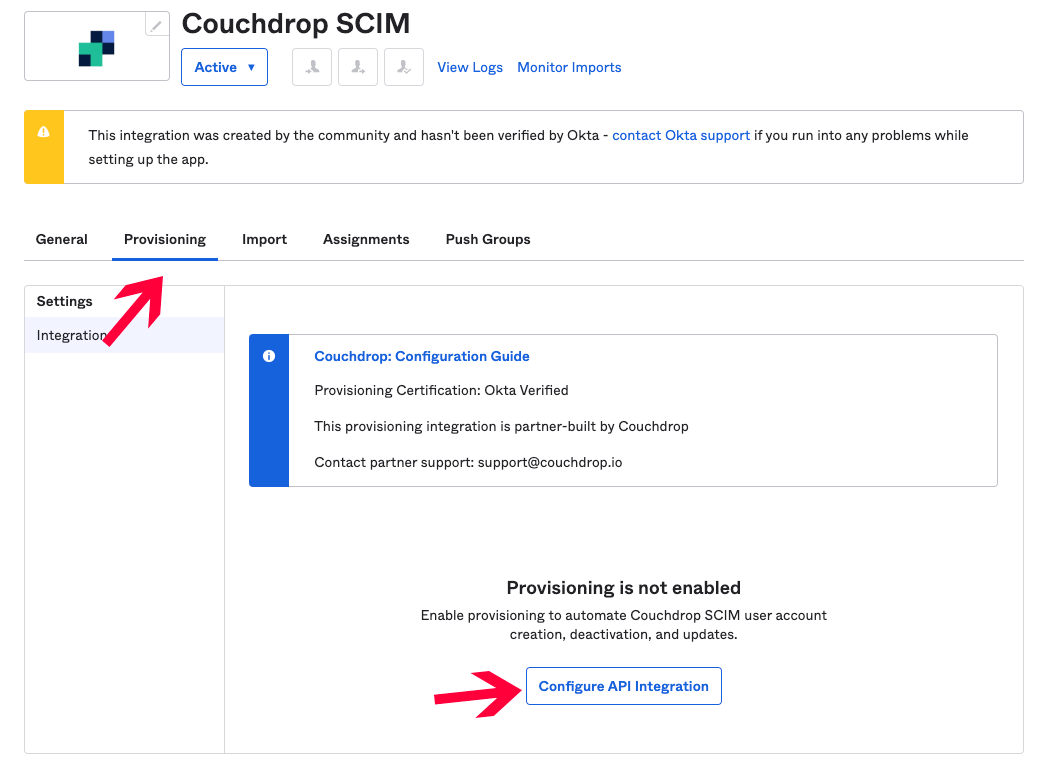
Then configure the user provisioning by selecting the *Provisioning* tab and click *Configure API Integration*
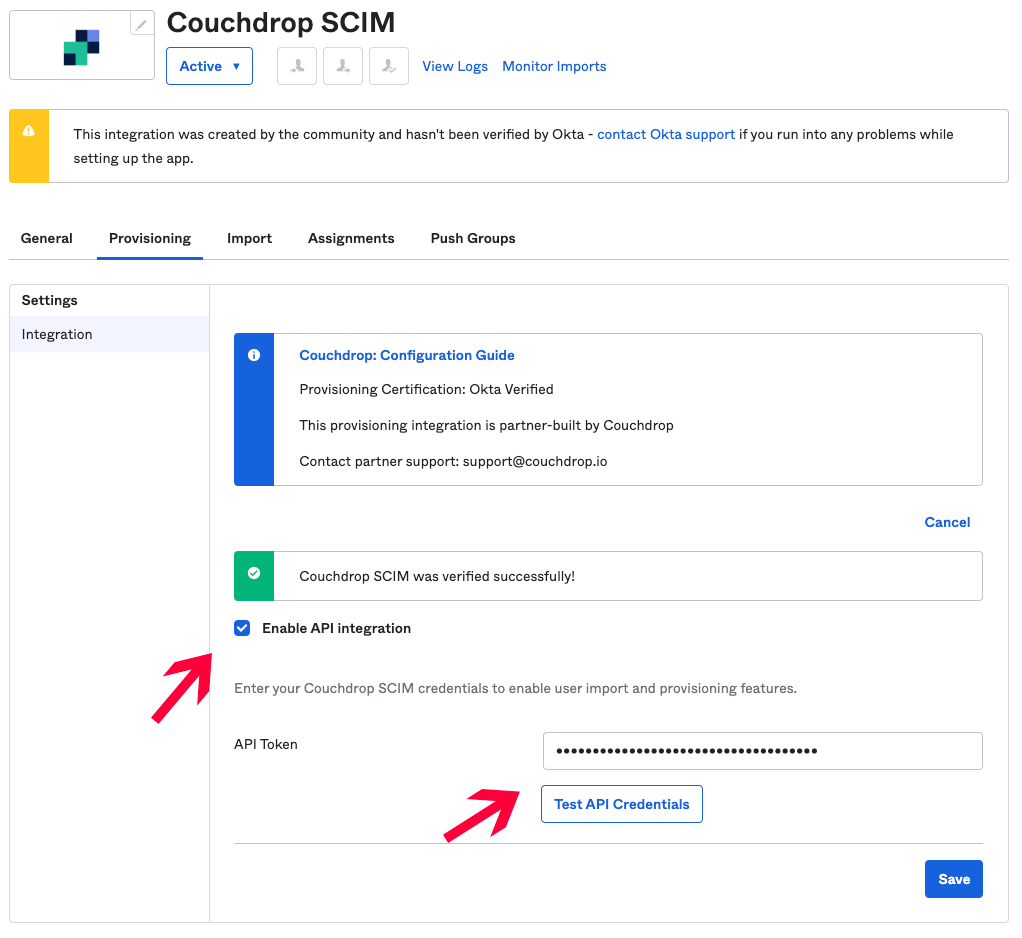
Check the *Enable API integration* checkbox, provide the User Provisioning Token which you configured in the Couchdrop SSO interface into the *API Token* field and click *Test API Credentials* to verify the token and hit *Save*.
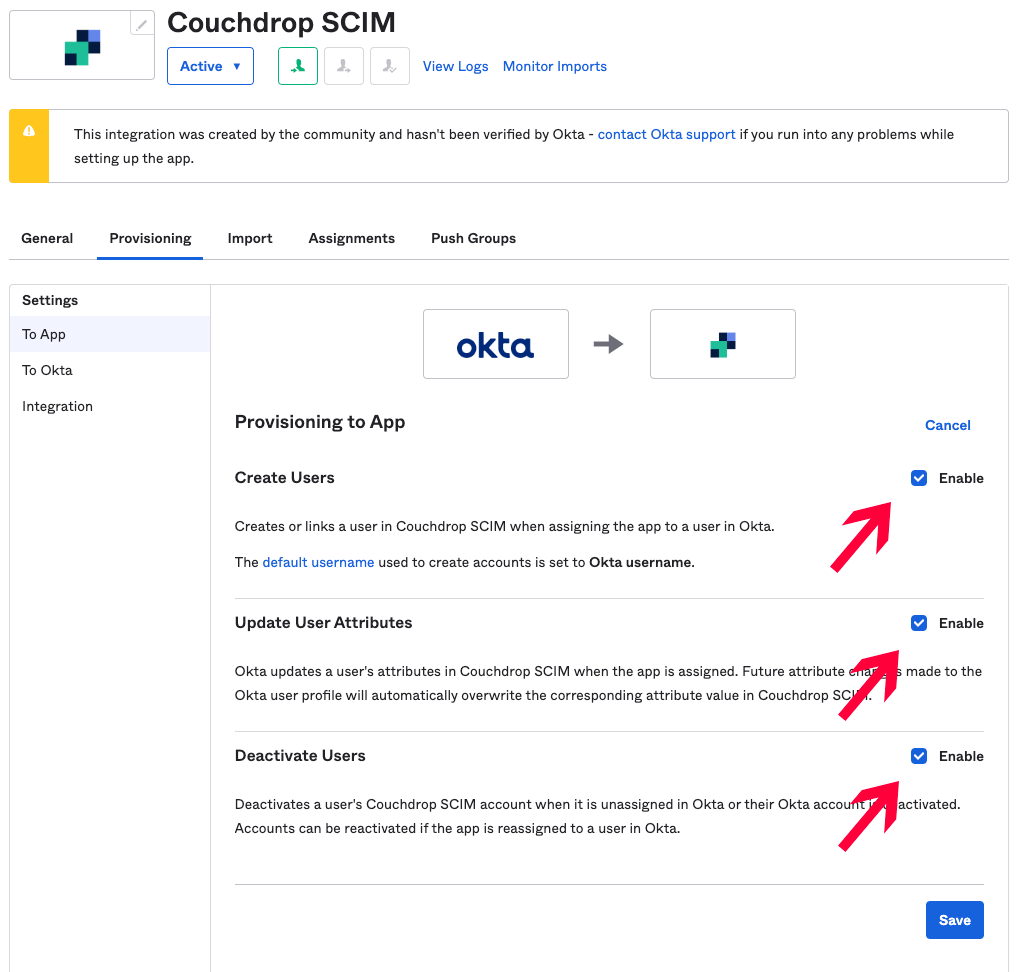
Select *Edit* and enable *Create User,* *Update User Attributes* and *Deactivate Users*

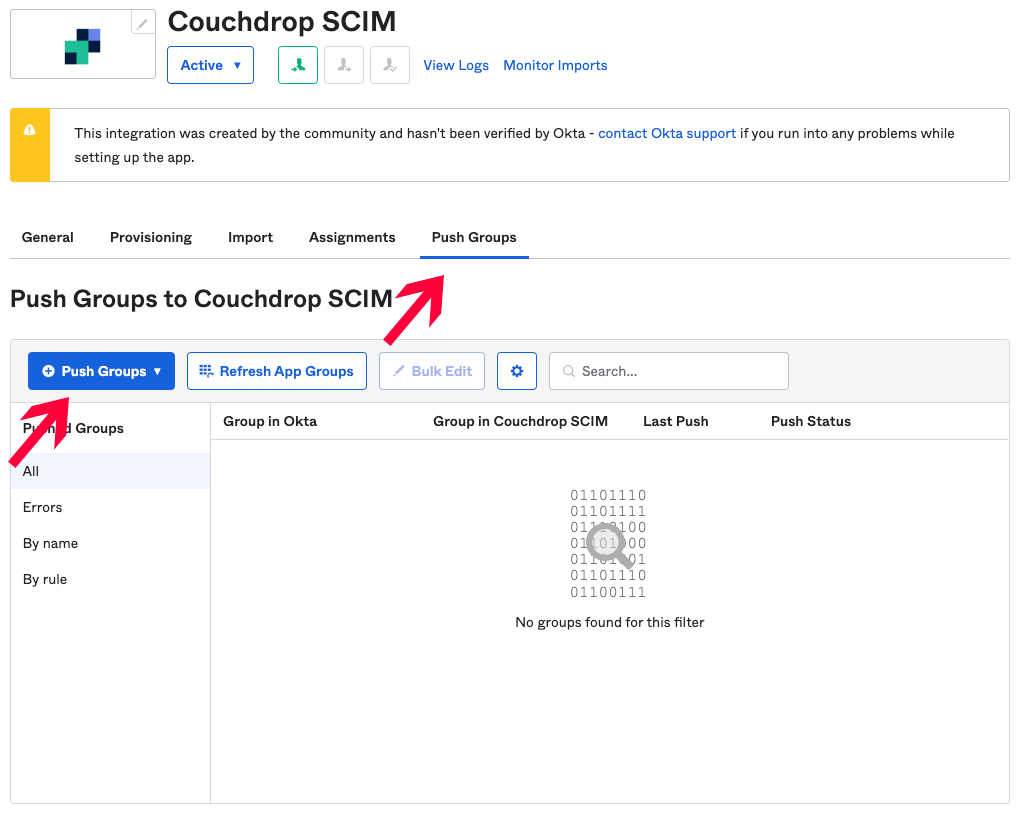
To push groups and their memberships from Okta into Couchdrop you can use the Push Group option. More information about this can be found [here](https://help.okta.com/en-us/Content/Topics/users-groups-profiles/usgp-about-group-push.htm#:~:text=Group%20Push%20lets%20you%20push,groups%20are%20managed%20from%20Okta.)
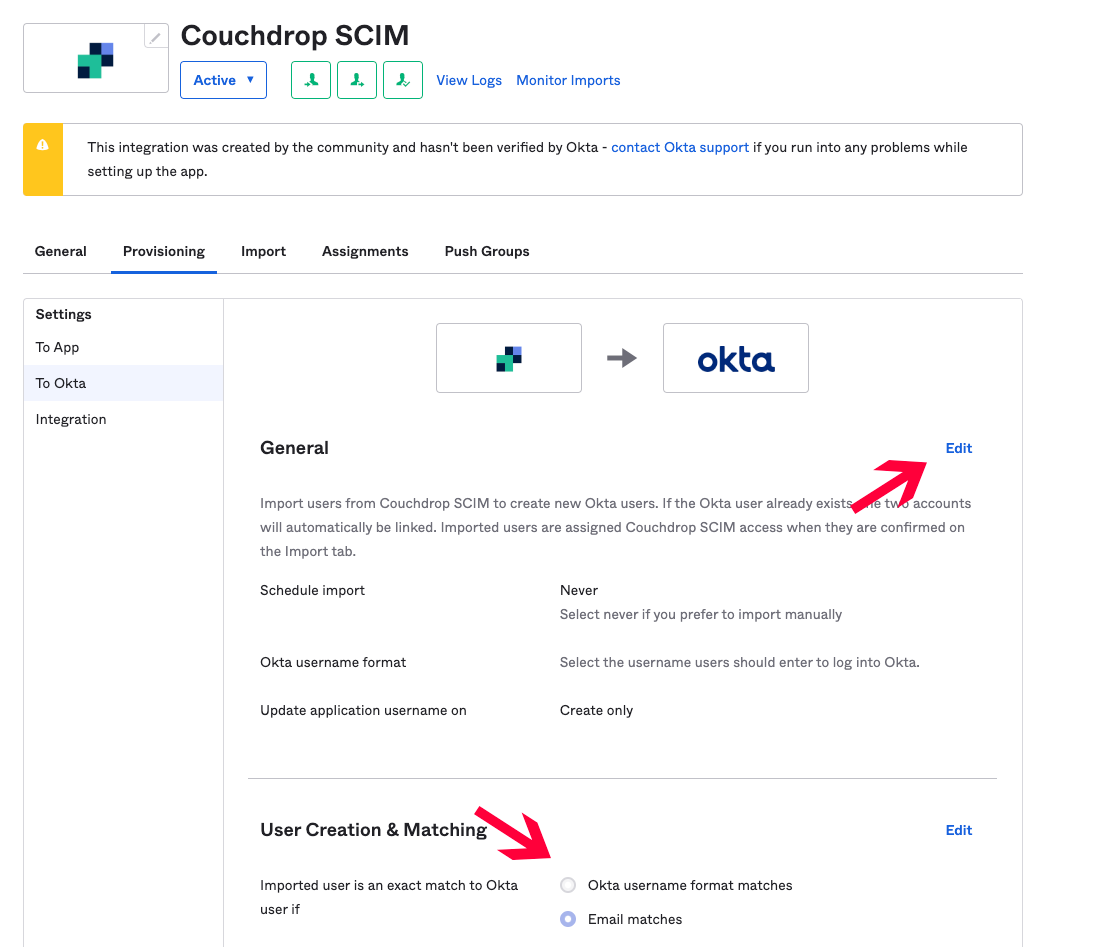
#### Configure user and group import from Couchdrop to Okta
If you want to import users and groups from Couchdrop into Okta select the *To Okta* Setting on the *Provisioning Tab* and select the scheduled import frequency and matching rules.
Then on the *Import* Tab click the *Import Now* button
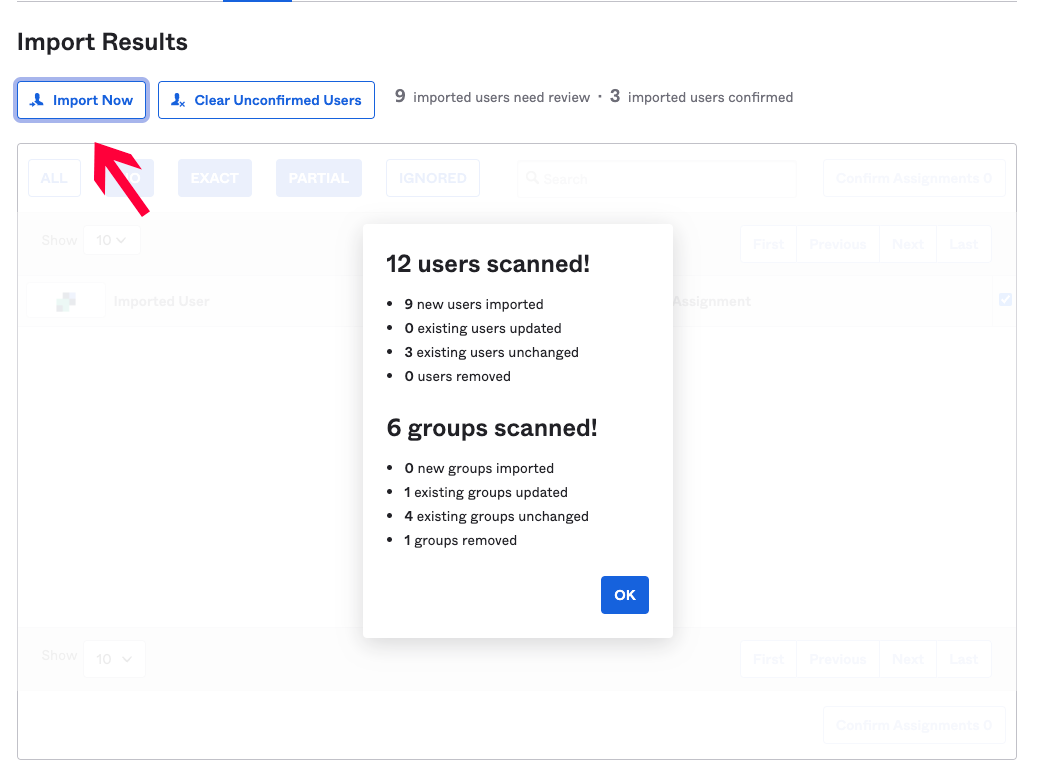
You will see a list of all potential users and groups to import and can select the one you wish to import into Okta
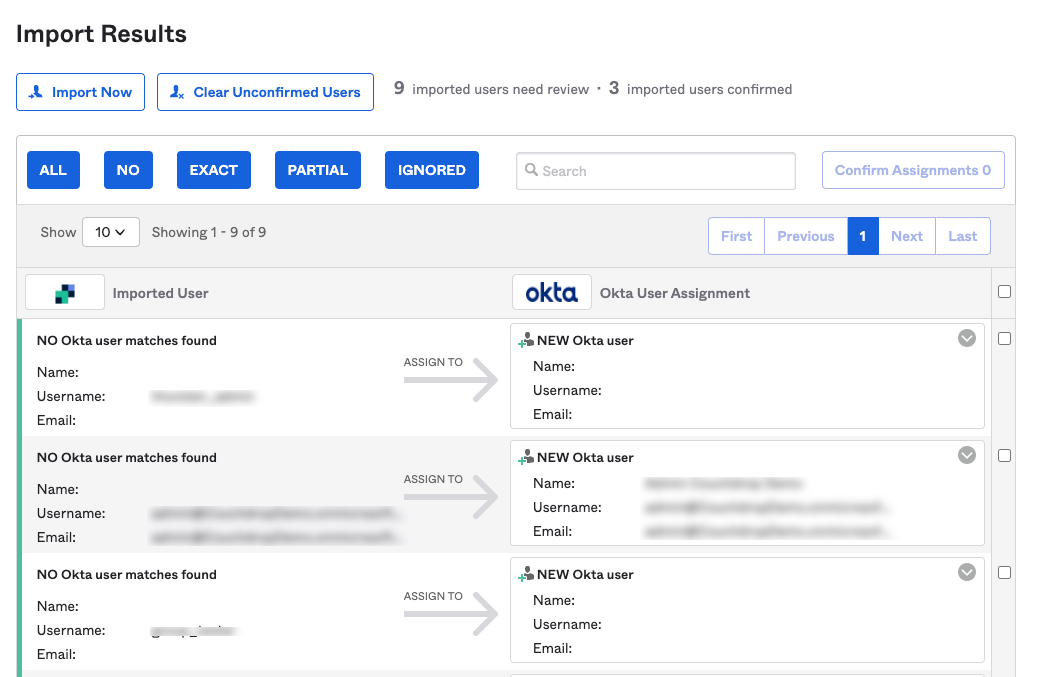
and click *Confirm Assignments* to trigger the import.
